User's guide
Installation
- Download the latest release from your Superhive , Gumroad or ArtStation account.
- Open Blender and navigate to
Edit > Preferences > Add-ons[1, 2, 3]. - Click on the [4] then
Install from Disk...button [5] and select theso_sprite-1.x.x.zipfile. - Enable the "SO-Sprite" add-on by checking the box next to it [6].
- Save parameters
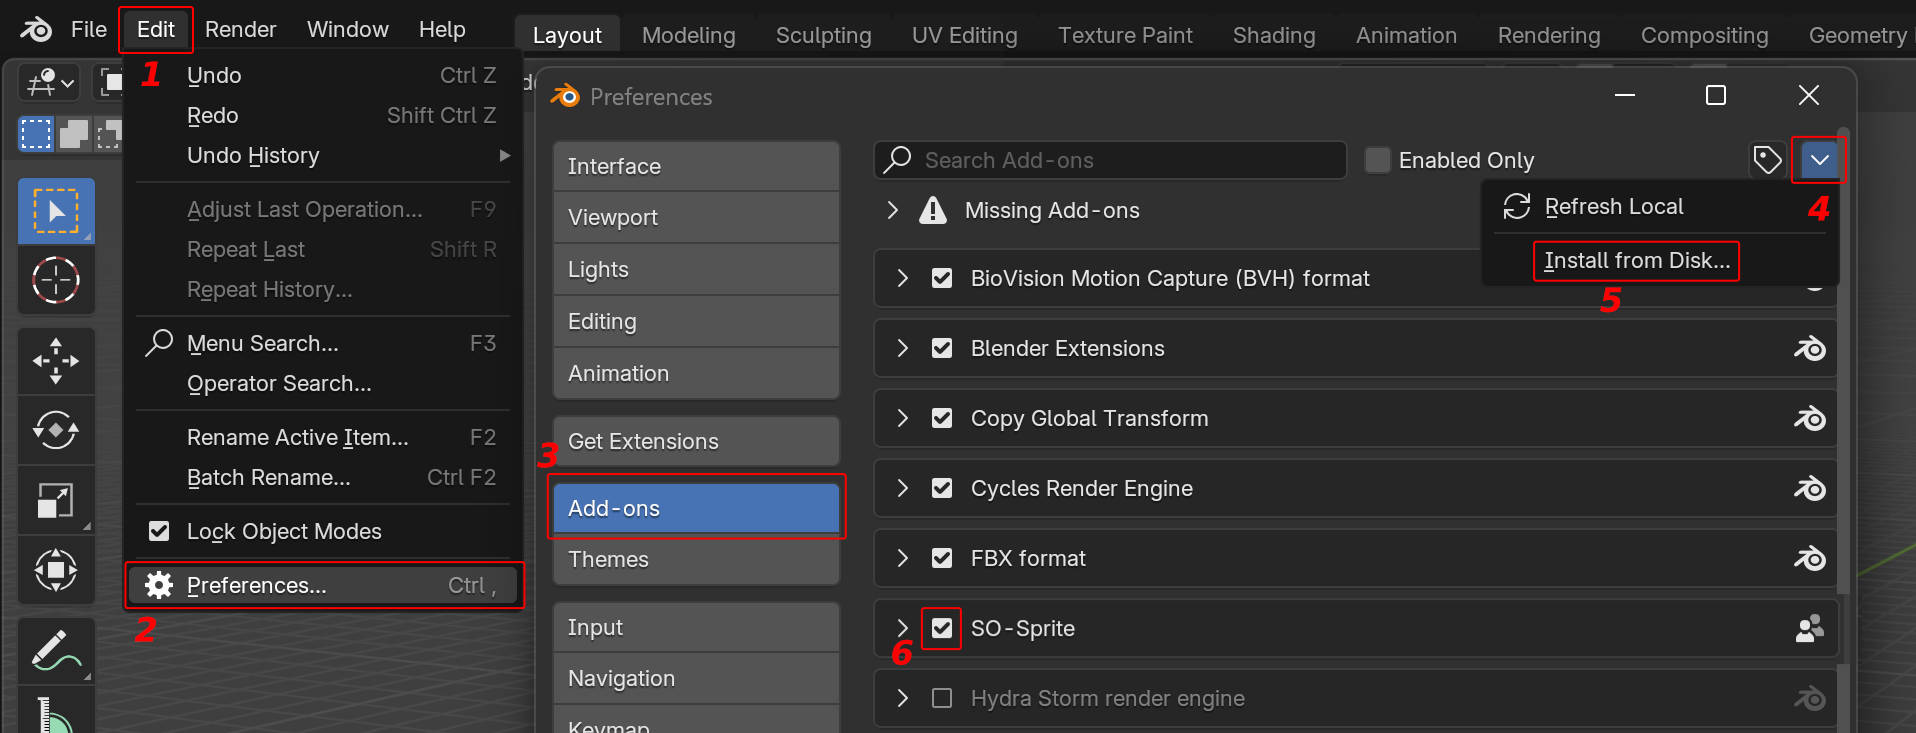
If you want to see the process, check some YouTube content
Warning
The add-on works with Blender 4.0 and higher only.
Add a Sprite
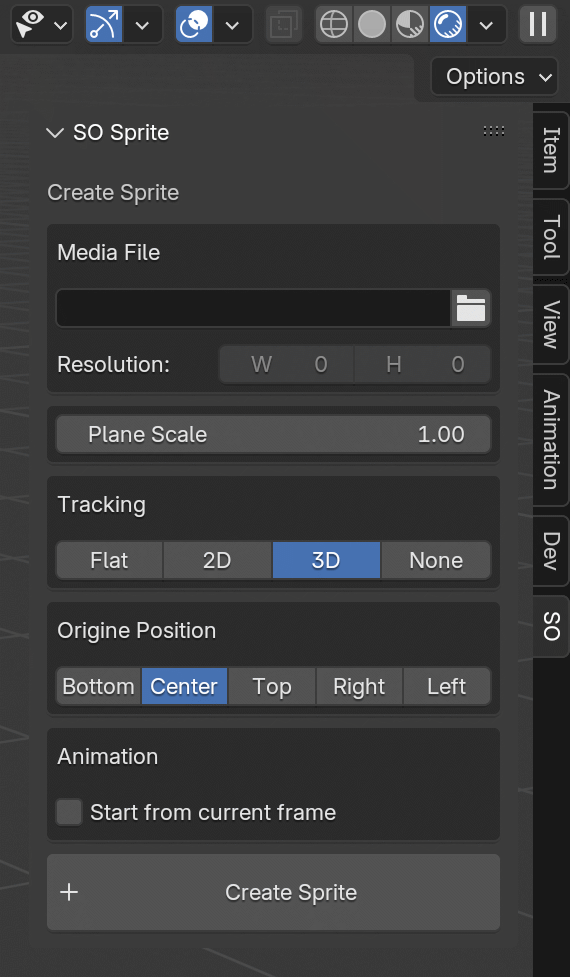
N-Panel
First go to the SO N-Panel. If you can't see it, press N to toggle on the panel's visibility. Search for the "SO" tab.
Media File
You can use all video an image files supported natively by Blender as well as image sequences (1). When the file is selected, the resolution is automatically set.
- To select an image sequence, select the first file then select the last one when holding Shift
Image sequence numbering
You absolutely must have a file numbering starting with 0. For example img_0000.png, img_0001.png,...
Plane Scale
This parameter is used to define a general size ratio. With scale = 1.0 a 1000x1000 px media will set to 1x1 Blender unit. You can, of course, resize the sprite later using Gizmo or the S key. The aim here is to easily reuse this ratio on all subsequently created sprites.
Tracking
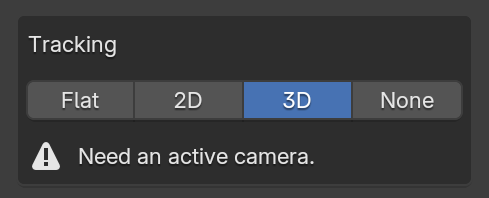
Tracking ensures that the sprite is always oriented towards the camera.
2D: Rotation will take place only on theZaxis. The sprite will always be perpendicular to the ground.3D: Rotation will take place on theZandXaxes. The sprite's normal will always point towards the camera.Flat: The sprite will have exactly the same rotation as the camera. It will not be distorted by perspective.None: No tracking will be applied. Useful for placing an animation anywhere you like.
Origin Position
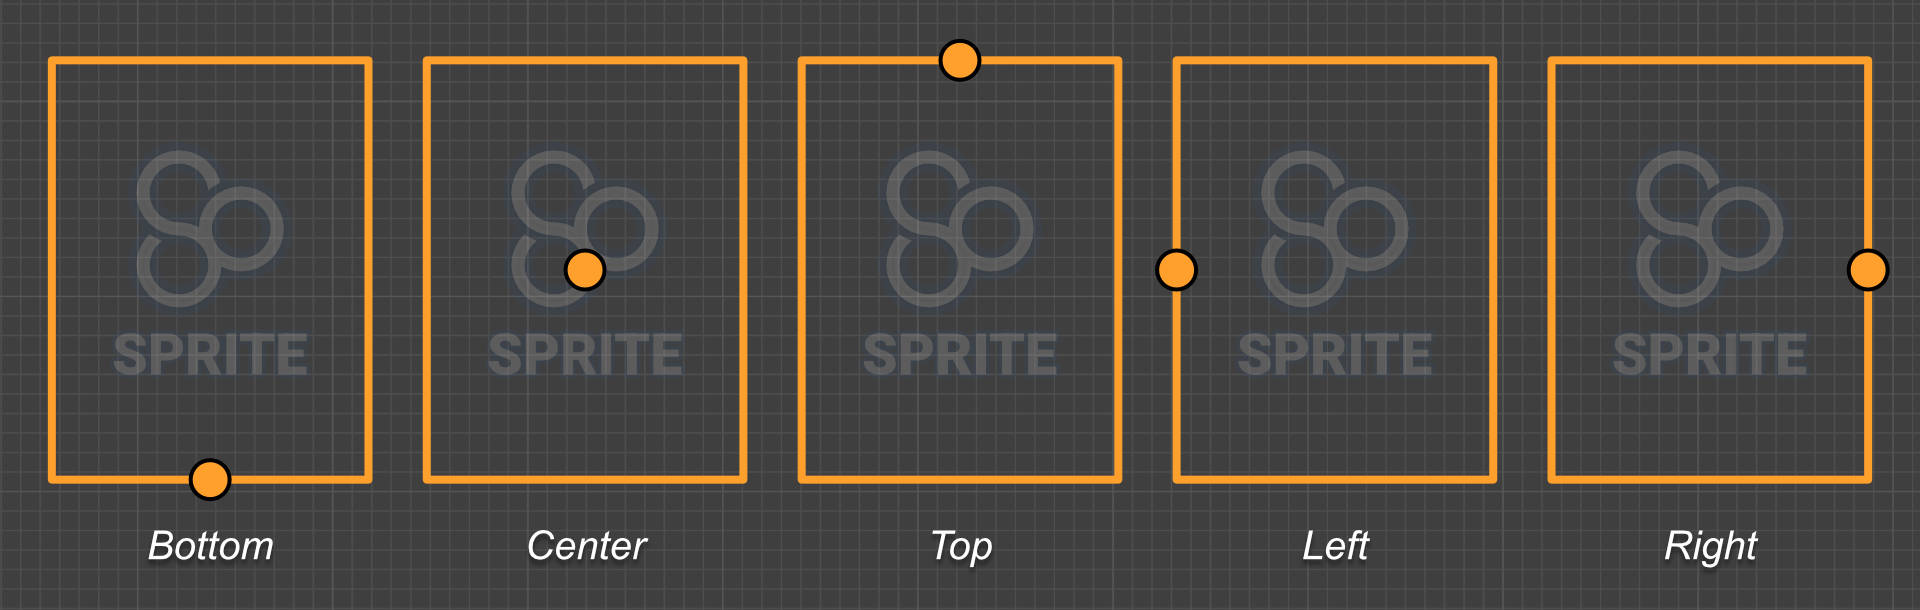
Allows you to change the center of the Object according to 5 predefined positions Bottom (1), Center, Top, Left and Right.
- Default position
Animation
Start from current frame is used to set the starty frame of the video / image sequence according to the current position of the playhead. The animation will start from the current frame.
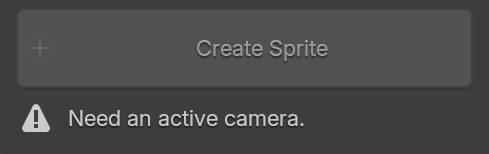
Create Sprite
This is the button to start sprite creation.
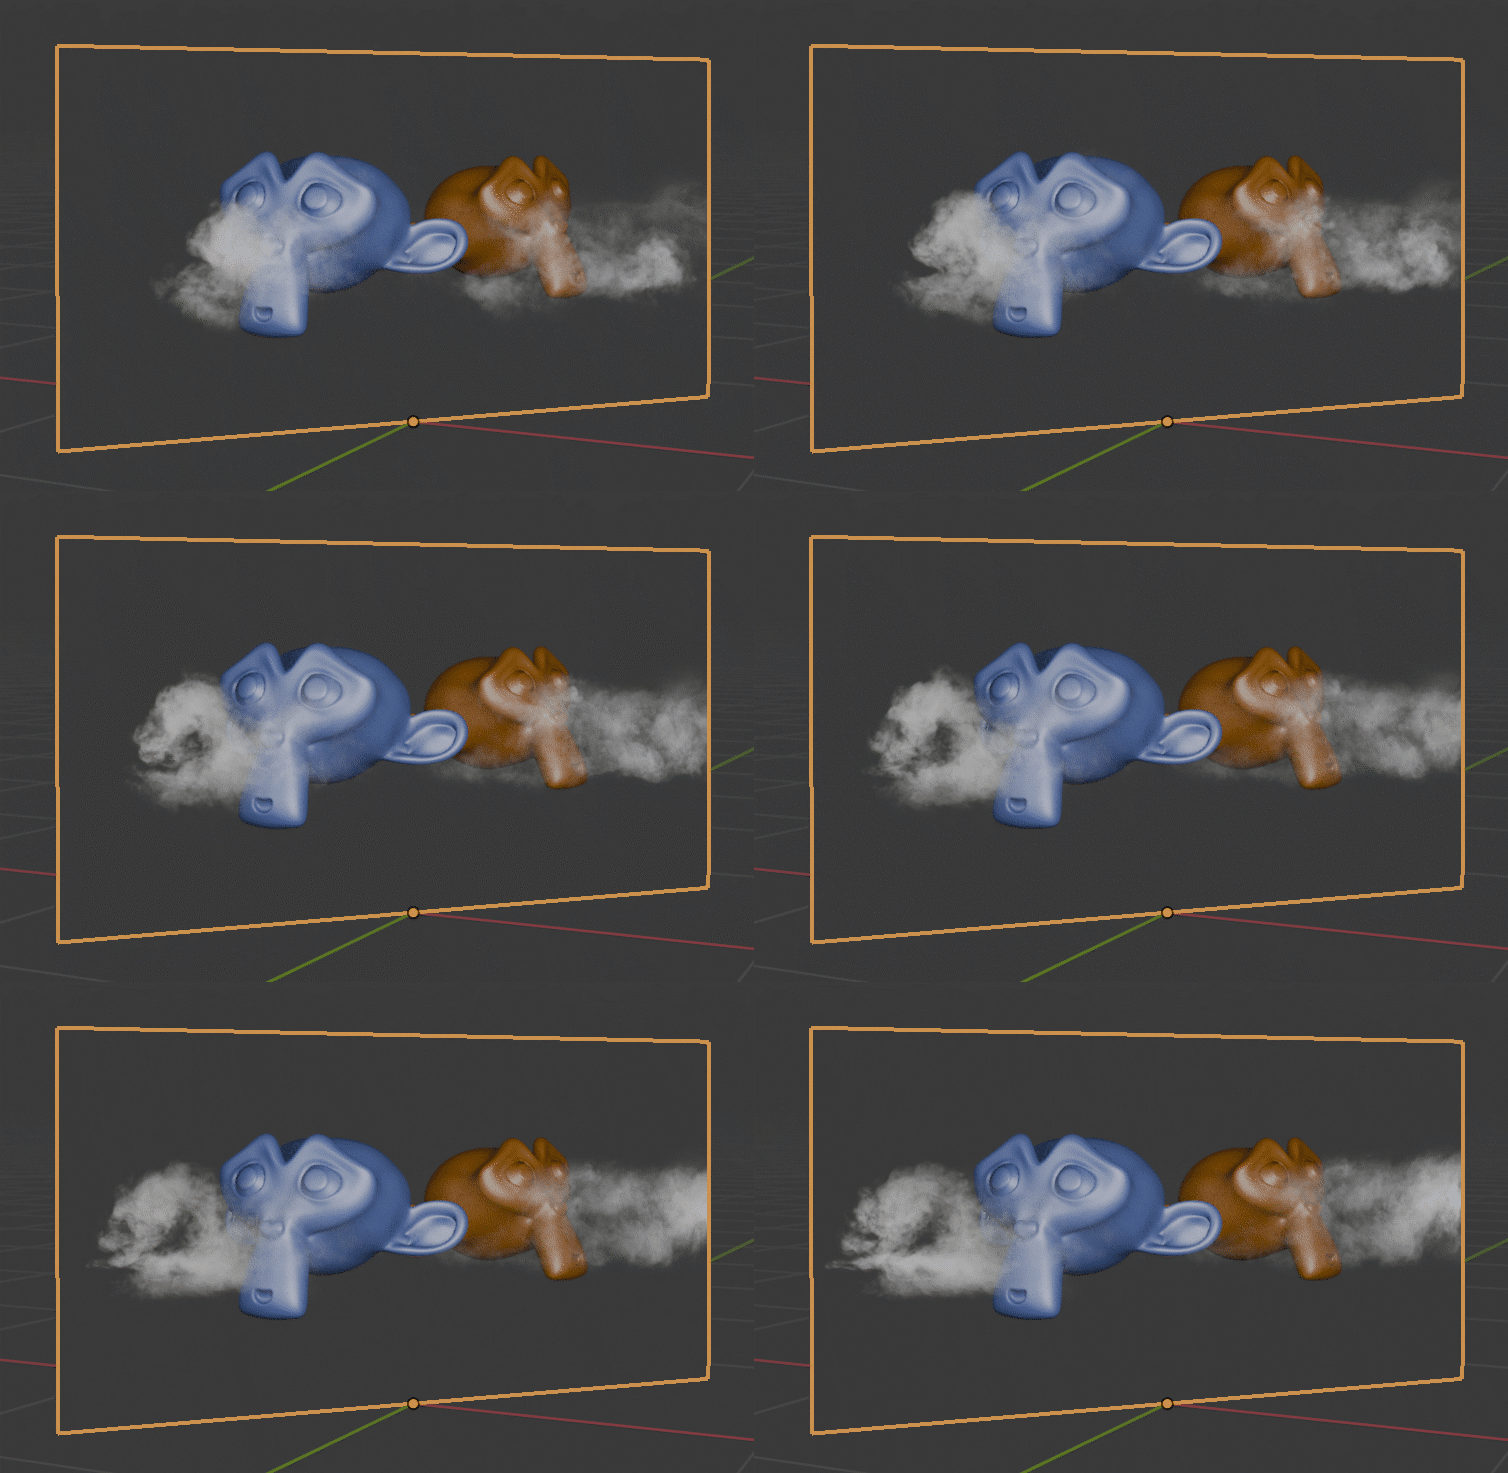
Note
The sprite will be created at the location of the 3D cursor, depending on the position of the Object origin.
Active camera
If Tracking is set to 2D, 3D or Flat, you need an active camera. Otherwise a waring message will be displayed and the button will be disabled.
Tweak a Sprite
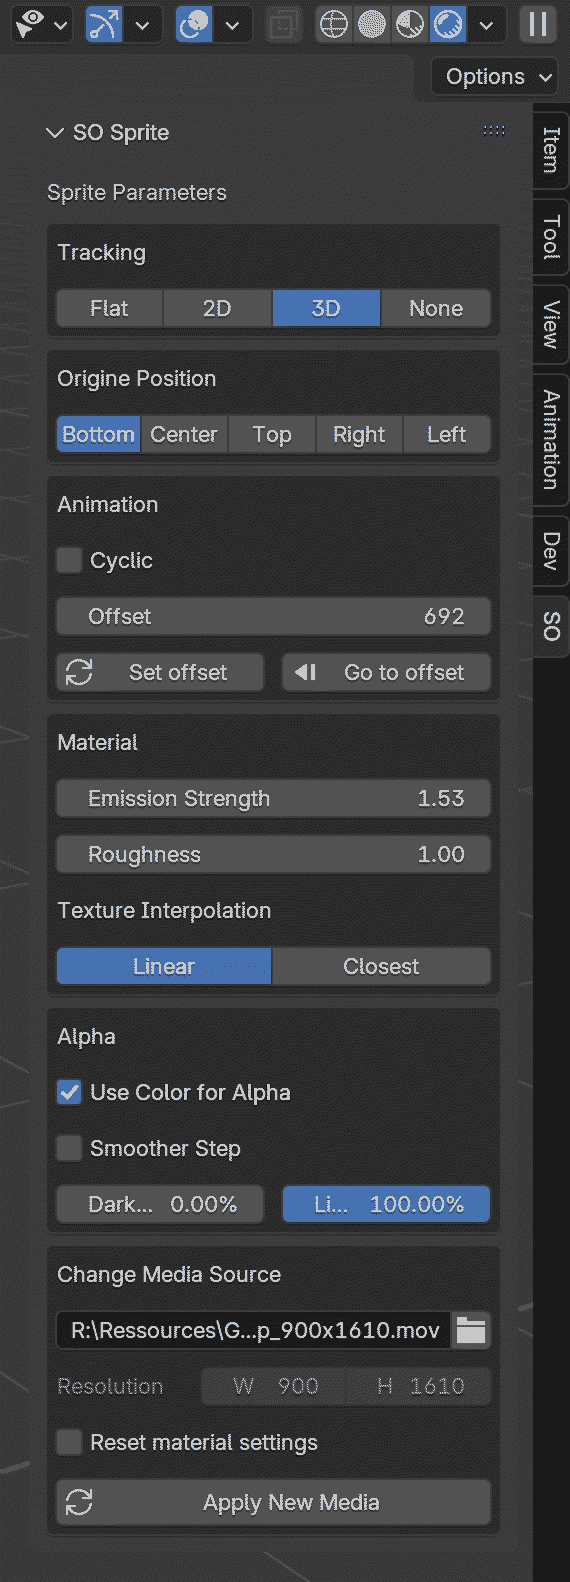
Tracking Update
The 4 modes are the same as tracking in Create section. But in some cases, problems can arise.
Note
If a sprite has been created in None tracking mode and there is no active camera, then it will be impossible to change the tracking mode.
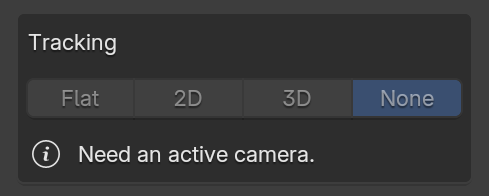
changement de camera
Tracking has been set up on a camera that is not active.
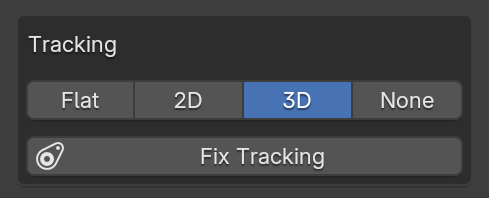
Need a camera
The camera used to track this sprite no longer exists. You need to create a new camera, then apply the fix.
Animation Tools
Note
This section is accessible only when the media assigned to the sprite is an animation (video or image sequence).
Cyclic: The animation is repeated in a loop if the box is checked.
Start Frame: Set the frame at which the animation starts. (1)
- If the animation is cyclic, a cycle start will correspond to this start frame.
Set start frame: This button automatically fills the Start Frame field according to the current frame in Blender timeline.
Go to start: Moves the Blender timeline playhead to the sprite start frame.
Material
Emission Strength: Makes the surface light-emissive. Particularly useful for fire effects, for example. (Default 0.0)
Roughness: Makes the surface more or less reflective. 0.0 is fully reflective, 1.0 is no reflection. (Default 1.0)
Texture Interpolation: Linear is the default option for no pixelation effect, while Closest is essential for displaying pixel art sprites.
Note
It is of course possible to go to the Material section of Blender to make your own modifications if required.
Alpha
Use Color for Alpha: If you don't have an alpha channel on your media, you can enable this option to use image brightness (HSL mode) as alpha. Useful for smoke videos on a black background, for example.
Smoother Step: Slightly changes the curve between high and low light.
Dark Tone Opacity: Dark tone threshold. (Default 0.0)
Light Tone Opacity: Light tone threshold. (Default 1.0)
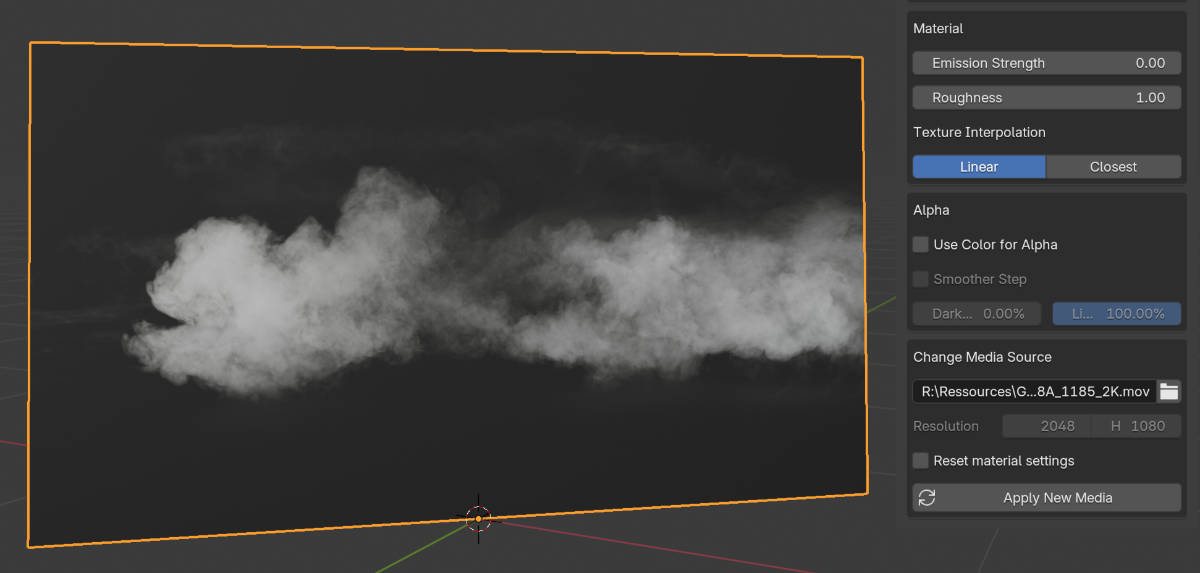
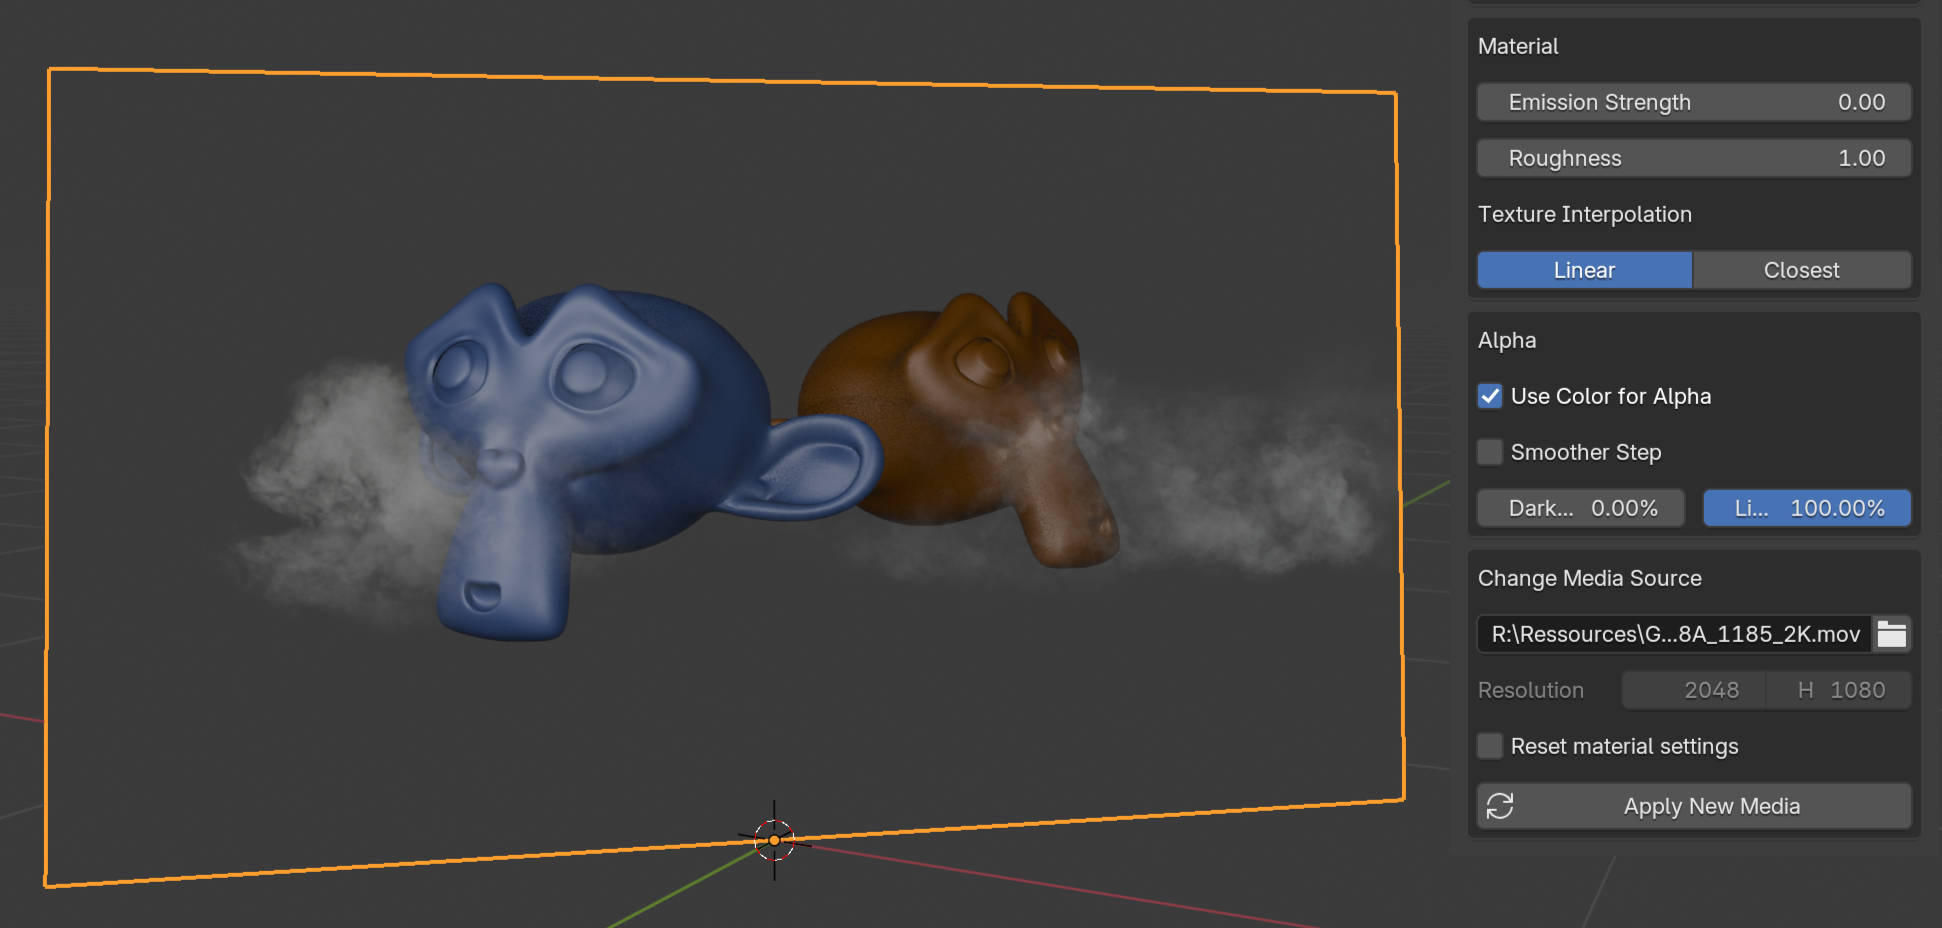 footage from actionvfx.com
Note
-
For greater precision with
Dark Tone OpacityandLight Tone Opacity, use the Shift key during mouse movement. -
The closer the values for
Dark Tone OpacityandLight Tone Opacityare, the sharper the mask. -
Inverting the values of
Dark Tone OpacityandLight Tone Opacityinverts the mask.
Change Media Source
The media selection field works in the same way as during sprite creation. When validated with the Apply New Media button, the sprite size will be updated with the media proportions and will retain the material settings, unless Reset material settings is activated.
Troubleshooting
- The add-on does not yet support multiple cameras
- Manually applying a rotation with Ctrl+A will break the add-on's functionality for this sprite.
- Please contact me by email at s
oriat.fr with as much information as possible about the problem and a copy of the console (menu
Window > Toggle System Console).